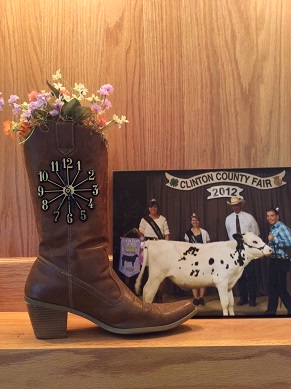
Have you ever had a special pair of cowboy boots that you either won a special show class, rodeo, or just plain loved to wear? Well its hard to throw those special boots away. So why not make them into something you can keep and display just as proudly as you wore them.
I got the idea from my youngest daughter who well lets just say she probably has more pairs of boots than I have clothes. She had a pair of boots that she outgrew but didn't want to part with because she had showed in them. But there is only room for so many pairs of boots in a bedroom. So I designed this clock so she could keep and display them in her country/western decor.
Making the clock is really simple and quick and they make great gifts.
The supplies you will need:
A boot (we used a cowboy boot but you can use rubber boots or work boots)< /li>
A piece of Styrofoam *option only needed if putting flowers in top of boot
A selection of flowers based on your decor or the season.
Instructions:
1. Clean the boot if needed.
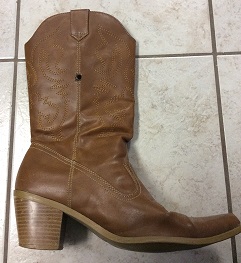
2. Drill a hole in the boot where you wish to insert the clock movement. We suggest centering it in the side. Before drilling you need to insert the piece of scrap wood so when you drill will hit it instead of going through the other side of the boot. Stop drilling when you feel the drill hit the wood.
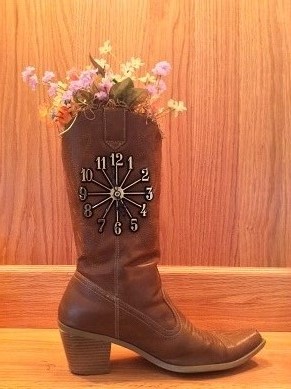
3. Super glue the starburst or clock numbers to the boot. Be sure to center them around the hole. Be sure to allowed to dry for at least a half hour. Laying the piece of the waxed paper from the starburst or numbers over them and laying something semi heavy on the flattened boot can help to insure the starburst or numbers affix to the boot more securely. These starbursts come in both the full with all the numbers
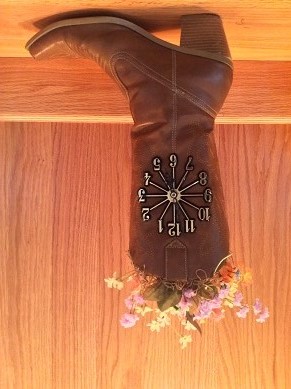
and partial with only the 3,6,9, 12.
4. Stuff the toe and bottom half of the boot with newspaper to make the boot look filled out. We don't suggest filling the bottom portion of the boot with plaster of paris or other more permanent fillers as they tend to affect the leather in the boot over time. Often causing a discoloration or the seams to let loose. Although aquarium gravel placed in a nylon panty hose leg does nicely but adds to the weight of the boot.
5. Place the movement through the hole and assemble per the instructions that came with the movement.
6. Install battery in clock movement and set time.
7. Now you can stop and enjoy your new boot clock at this time or you can add the floral arrangement to the boot. Depending on your decor you may want to leave it without the flowers. Or in the case you are the type that likes to add seasonal flowers you many want to make it so you change out the flowers to match the season. We made the floral arrangement by cutting a piece of Styrofoam to fit inside the top of the boot. We then stuck the stems of the silk flowers into the Styrofoam.
Clock movements, starbursts, clock numbers are available in many varieties from different sources. You can personalize the clock to your personal tastes and decor. We do provide these parts available for purchase by clicking on the links on this page.
After finishing this project hopefully you will have a treasure of your own. Hopefully your clock will remind you of the great times just as this one does my daughter.
 and partial with only the 3,6,9, 12.